Best Honey Garlic Chicken Wings Recipe | Crispy, Juicy & Delicious
There's something irresistible about perfectly cooked honey garlic chicken wings. Whether you're hosting a game day gathering, planning an appetizer spread for a dinner party, or simply craving something delicious for dinner, this best honey garlic chicken wings recipe delivers every single time.
The magic of this recipe lies in the balance of sweet honey and savory garlic, combined with a cooking technique that ensures crispy exteriors while keeping the meat inside tender and juicy. This is the kind of dish that disappears within minutes of hitting the table, leaving everyone asking for the recipe.
Unlike complicated wings recipes that require multiple steps or hard-to-find ingredients, this honey garlic chicken wings recipe uses pantry staples and delivers restaurant-quality results in your own kitchen. We'll walk you through everything from selecting the best wings to mastering the cooking technique that creates that coveted crispy, juicy texture.
Why Honey Garlic Chicken Wings are the Ultimate Crowd-Pleaser
Before we dive into the recipe, let's explore what makes this dish so incredibly popular for entertaining and weeknight dinners.
The Perfect Balance of Flavors
Honey garlic chicken wings succeed because they combine sweet and savory elements in perfect harmony. The honey provides natural sweetness and helps create a glossy glaze, while the garlic adds depth and umami richness. Together, they create a flavor profile that appeals to virtually everyone at the table.
Impressive Yet Simple to Prepare
The best honey garlic chicken wings recipe looks and tastes like you spent hours in the kitchen, yet requires minimal hands-on time and basic cooking skills. This impressive-yet-simple combination makes it perfect for entertaining when you don't want to stress over complicated preparations.
Versatile Cooking Methods
You can prepare honey garlic wings using multiple cooking methods—baking, frying, or air frying—and achieve excellent results. This versatility means you can choose based on your available equipment and personal preferences. Each method has advantages, which we'll explore throughout this guide.
Budget-Friendly Ingredient
Chicken wings are among the most affordable proteins available at grocery stores. Creating gourmet-tasting honey garlic wings from budget-friendly ingredients means you can serve impressive appetizers without breaking the bank.
Perfect for Any Occasion
From casual weeknight dinners to formal entertaining, honey garlic wings work beautifully. They're substantial enough for a main course yet elegant enough for appetizers at sophisticated gatherings. This adaptability makes them a go-to recipe for countless occasions.
Make-Ahead Friendly
You can prepare components ahead of time, making this recipe perfect for busy hosts. Wings can be prepped hours in advance, and the sauce keeps for days in the refrigerator. This planning flexibility reduces stress on entertaining days.
Essential Ingredients for the Best Honey Garlic Chicken Wings
Creating truly exceptional honey garlic chicken wings starts with quality ingredients. Here's exactly what you need:
For the Chicken Wings
- 3-4 pounds chicken wings, separated into flats and drumettes, patted dry
- 1 teaspoon salt
- ½ teaspoon black pepper
- ½ teaspoon garlic powder
- ½ teaspoon paprika
- ¼ teaspoon cayenne pepper (optional, for subtle heat)
For the Honey Garlic Glaze
- ½ cup honey, preferably raw or unfiltered
- 6-8 cloves fresh garlic, minced very finely
- ¼ cup soy sauce
- 2 tablespoons rice vinegar
- 1 tablespoon sesame oil
- 1 teaspoon fresh ginger, minced (optional but recommended)
- 1 tablespoon butter
- 1 teaspoon cornstarch mixed with 2 tablespoons water (slurry)
For Garnish and Serving
- 2 tablespoons sesame seeds
- 2 green onions, thinly sliced
- Fresh cilantro, chopped (optional)
- Lemon or lime wedges
Step-by-Step Instructions for Perfectly Cooked Honey Garlic Chicken Wings
Step 1: Prepare Your Chicken Wings (5 minutes)
Proper preparation is crucial for achieving crispy, evenly cooked wings.
Cleaning and Drying Wings
Rinse your chicken wings under cold water and pat completely dry with paper towels. Moisture is the enemy of crispy skin, so don't skip this step. Remove any feather tips if present. Separate wings into flats and drumettes for even cooking.
Why Patting Wings Dry Matters
Wet wings release steam during cooking, preventing the skin from becoming crispy. Taking two minutes to thoroughly dry wings ensures you achieve that coveted golden, crunchy exterior. Use multiple paper towels if necessary—this step truly makes the difference between good and extraordinary wings.
Step 2: Season Your Wings (3 minutes)
Seasoning happens in two stages—first with a dry rub, then with the glaze.
Creating the Dry Rub
In a small bowl, combine salt, black pepper, garlic powder, paprika, and optional cayenne pepper. Toss your dried wings with this seasoning mixture, ensuring even coverage. The garlic powder in the dry rub intensifies the overall garlic flavor beyond what the fresh garlic glaze provides.
he Purpose of Pre-Seasoning
Pre-seasoning penetrates the meat and creates a flavorful foundation before the glaze is applied. This layered seasoning approach creates more complex, sophisticated flavor than using glaze alone.
Choose Your Cooking Method
The best honey garlic chicken wings recipe can be prepared using three different methods. Each produces excellent results:
Method A: Baking for Maximum Crispiness
Arrange seasoned wings on a foil-lined baking sheet in a single layer. Bake at 400°F for 40-45 minutes, stirring halfway through, until skin is golden and crispy. This method requires no oil and produces exceptionally crispy wings with minimal effort.
Advantages: Hands-free cooking, no oil splatter, large batch capacity Best For: Home entertaining, meal prep, health-conscious cooks
Method B: Deep Frying for Ultimate Crispiness
Heat oil to 350°F in a heavy pot or Dutch oven. Working in batches, fry wings 8-10 minutes until skin is golden brown and meat is cooked through. Transfer to paper towels to drain excess oil.
Advantages: Superior crispiness, faster cooking, impressive results Best For: Special occasions, maximum flavor, crispy texture preference
Method C: Air Frying for Convenience
Arrange wings in air fryer basket in a single layer. Air fry at 380°F for 25-30 minutes, shaking basket halfway through, until golden and crispy. No oil needed, faster than traditional baking.
Advantages: Fast cooking, minimal cleanup, crispy results, less oil Best For: Quick weeknight meals, small batches, health-conscious cooking
Step 4: Prepare the Honey Garlic Glaze (5 minutes)
While wings cook, prepare your signature glaze.
Building Flavor Layers
In a saucepan over medium heat, melt butter and sauté minced garlic for 45-60 seconds until fragrant but not browned. Add honey, soy sauce, rice vinegar, optional ginger, and sesame oil. Stir well to combine.
Why Fresh Garlic Matters
Pre-minced or jarred garlic lacks the brightness of fresh garlic. Fresh garlic provides a pungent, aromatic quality that's crucial to this recipe's success. Mince it finely so it distributes throughout the glaze evenly.
Creating the Perfect Glaze Consistency
Bring the mixture to a gentle simmer, stirring occasionally. Mix cornstarch slurry (cornstarch plus water) and add to the simmering glaze, stirring constantly. The glaze will thicken slightly within 1-2 minutes. Continue simmering for 2-3 minutes until it reaches a thick but pourable consistency that coats a spoon.
Understanding the Glaze Chemistry
Cornstarch thickens the glaze so it coats wings evenly rather than sliding off. The soy sauce provides umami depth, rice vinegar adds brightness, and sesame oil contributes nutty richness. All these elements combine to create a balanced, complex glaze.
Step 5: Combine Wings and Glaze (5 minutes)
This is where everything comes together.
Coating Technique
Remove cooked wings from the oven or fryer. Transfer to a large bowl and pour warm honey garlic glaze over top. Using tongs or two forks, gently toss wings to coat evenly with glaze. Work quickly while both wings and glaze are warm for best coating.
Getting Even Coverage
Toss gently to avoid breaking the crispy skin. If some wings aren't fully coated, drizzle additional glaze over top. Don't worry about perfect coverage—the glaze will settle as it cools slightly.
Step 6: Garnish and Serve (2 minutes)
Final touches transform your dish into something restaurant-worthy.
Garnishing for Presentation
Transfer glazed wings to a serving platter. Sprinkle generously with sesame seeds for visual appeal and subtle nutty flavor. Top with sliced green onions and optional fresh cilantro. Serve immediately while wings are still warm.
Professional Presentation Tips
Arrange wings on a platter in a single layer rather than piled high. This showcases the glossy glaze and golden skin. Include lemon or lime wedges for optional brightness. Serve with small plates or napkins as finger food.
Related Blogs
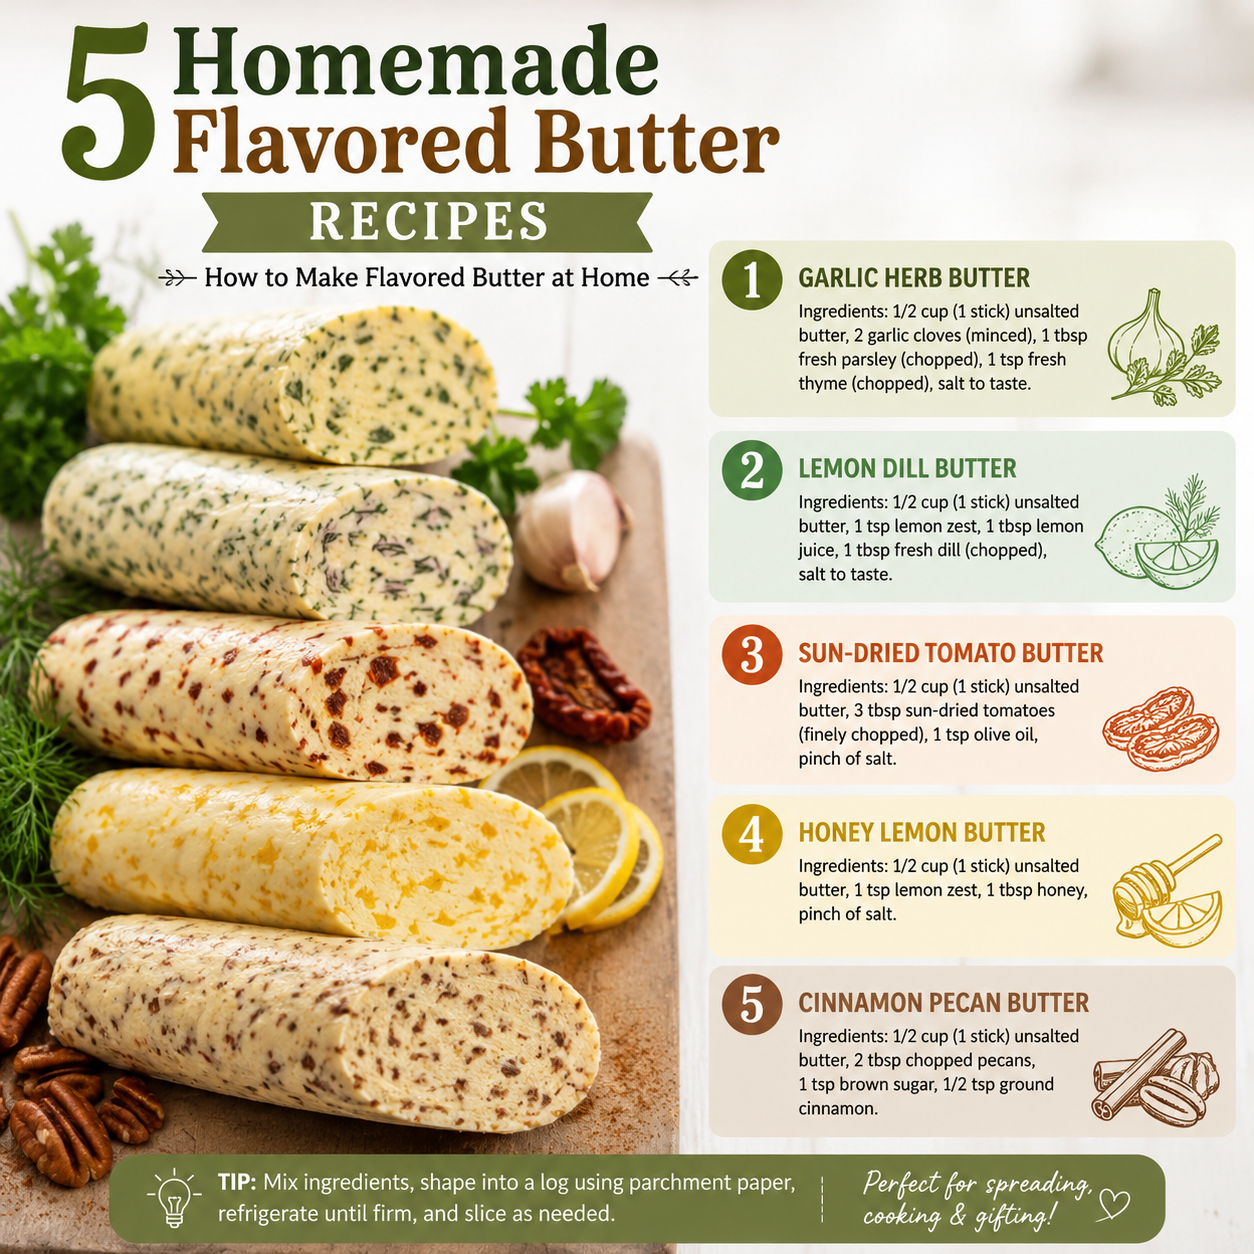
5 Homemade Flavored Butter Recipes: How to Make Flavored Butter at Home
My recipes are simple, delicious, and they usually contain lots of butter. Butter is one of those magical ingredients that c
2026-06-13 SEE MORE
Best Honey Garlic Chicken Wings Recipe | Crispy, Juicy & Delicious
There's something irresistible about perfectly cooked honey garlic chicken wings. Whether you're hosting a game day gathering, planning a
2026-06-17 SEE MORE
Ricotta Cheesecake: A Recipe That’s Light, Luscious, and Irresistibly Italian
When it comes to classic desserts, cheesecake remains one of the most beloved treats worldwide. While traditional American c
2026-05-30 SEE MORE
15 Easy Dinner Recipes for Busy Weeknights | Quick Family Meals
Introduction
Are you struggling to find time to prepare dinner after a long, exhausting day at work? You're not alone. Many
2026-06-07 SEE MORE